
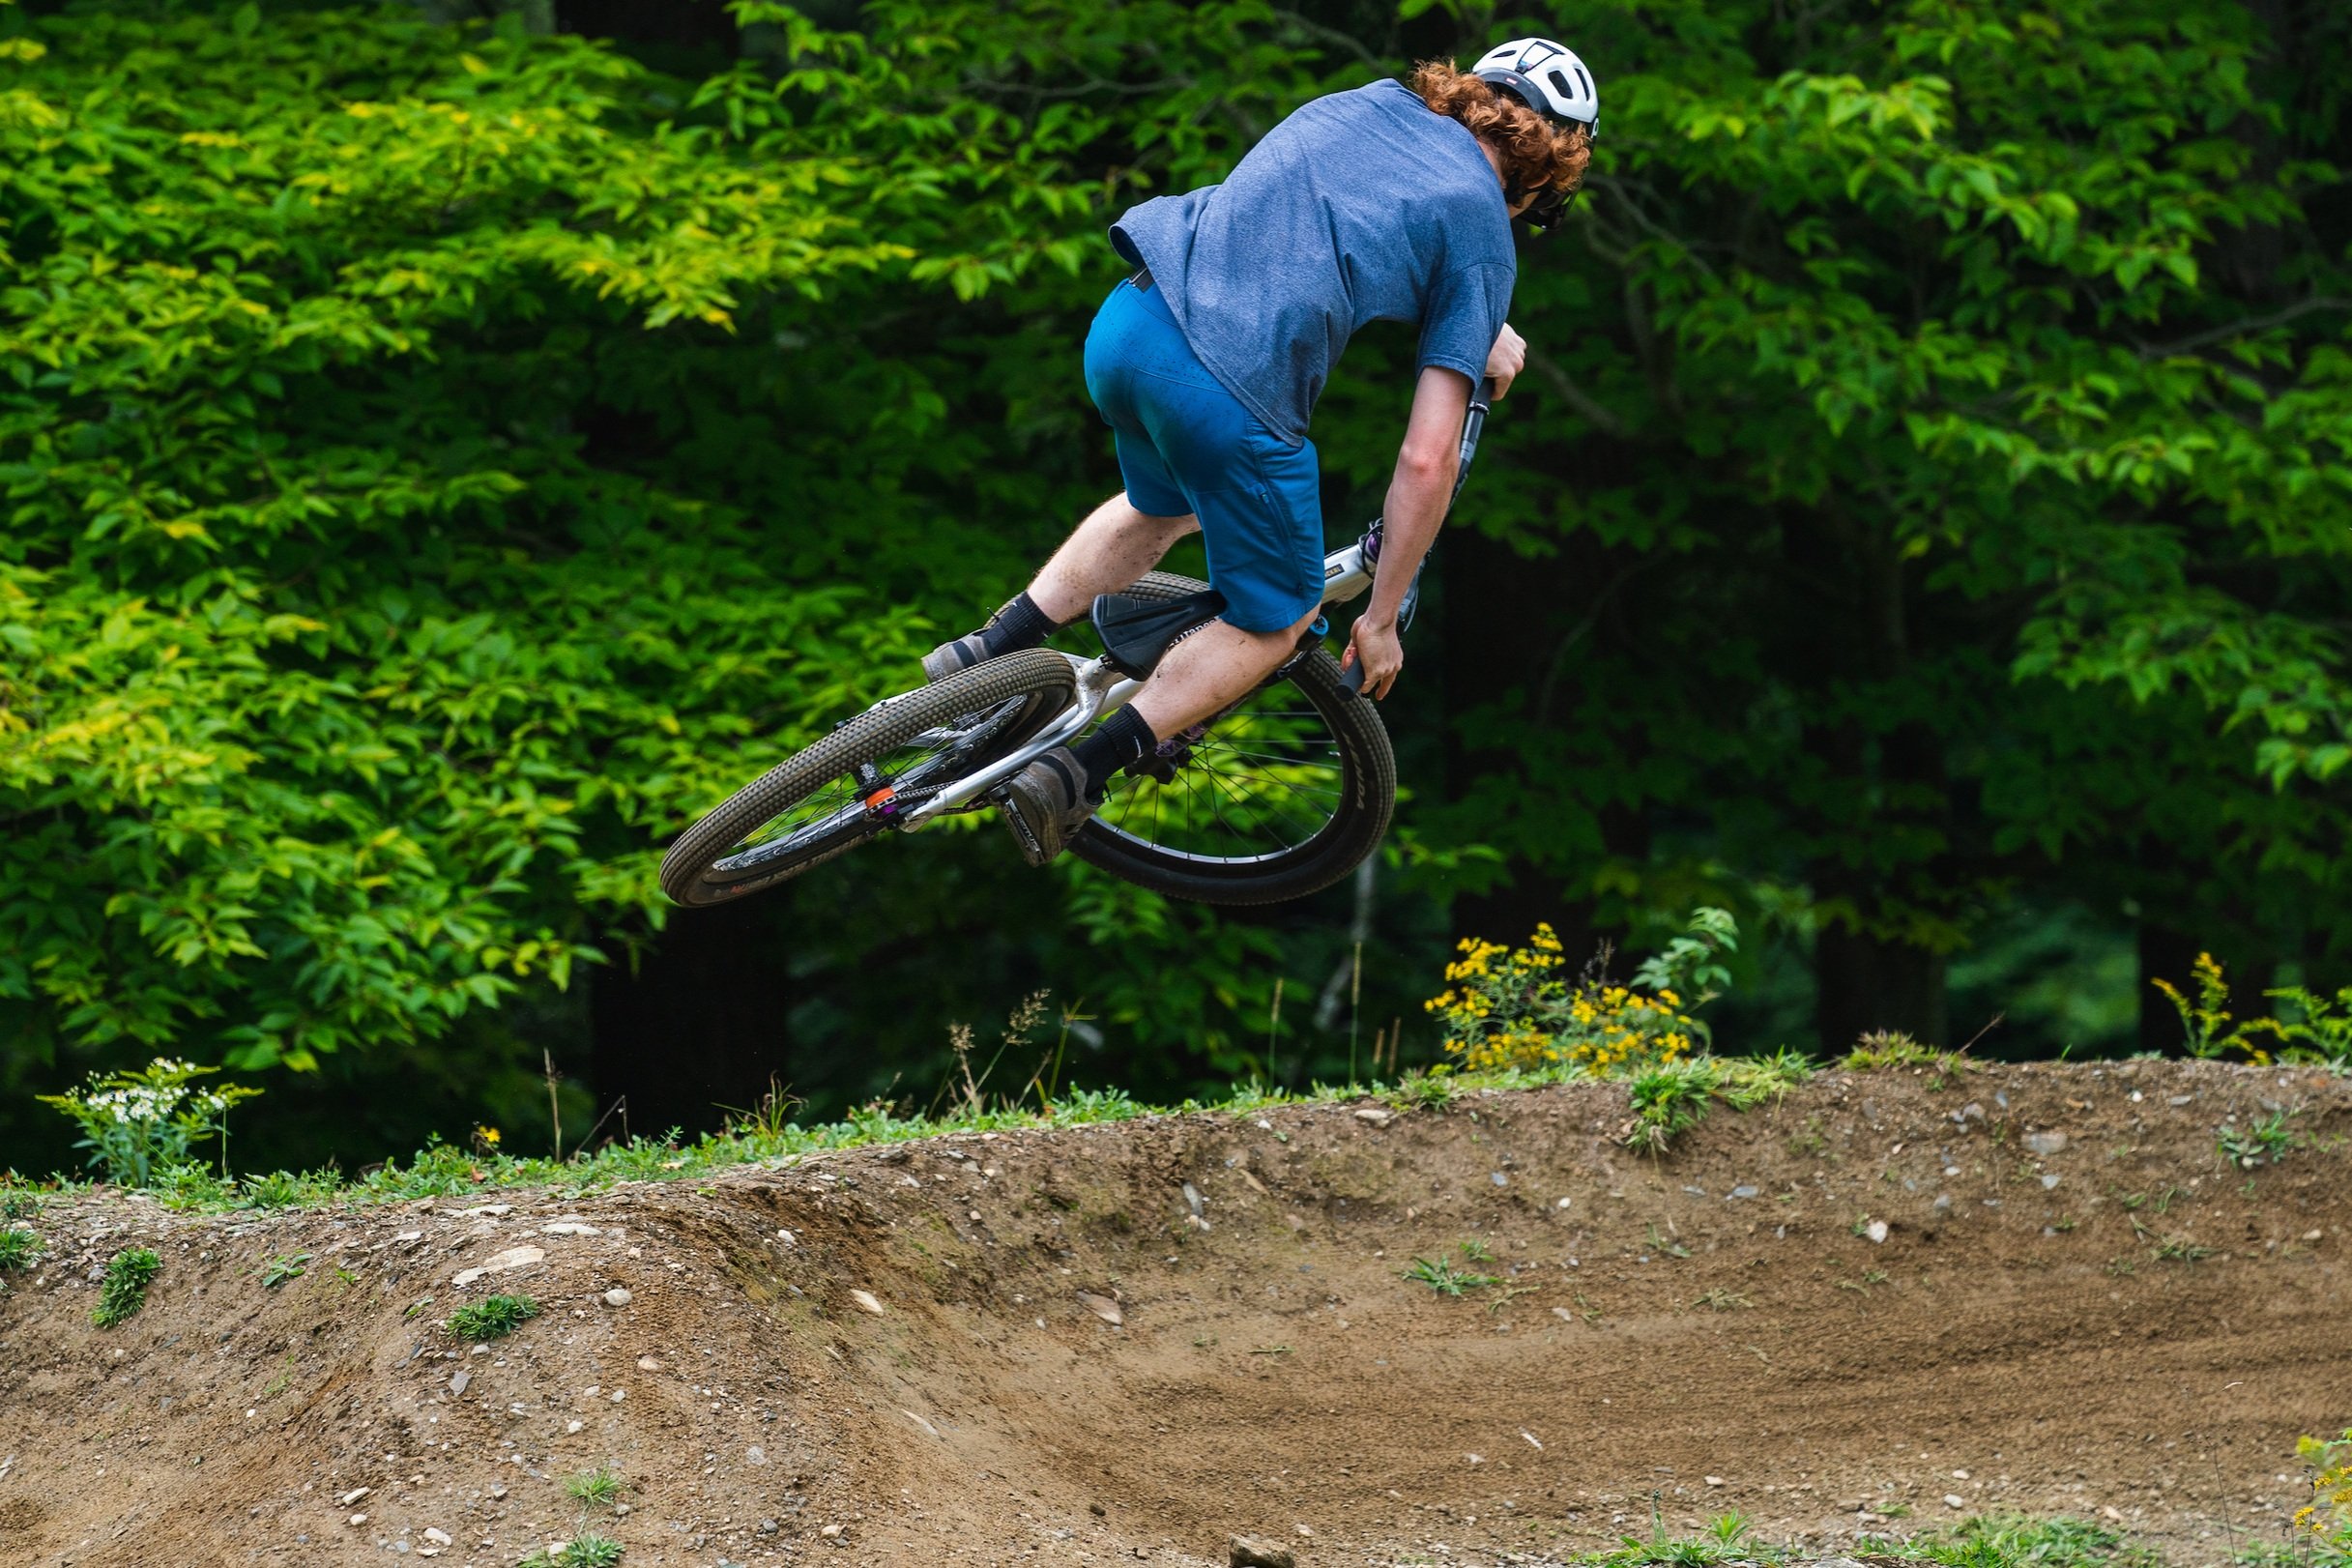
Freeride
Stowe Mountain Bike Academy Programs - Freeride
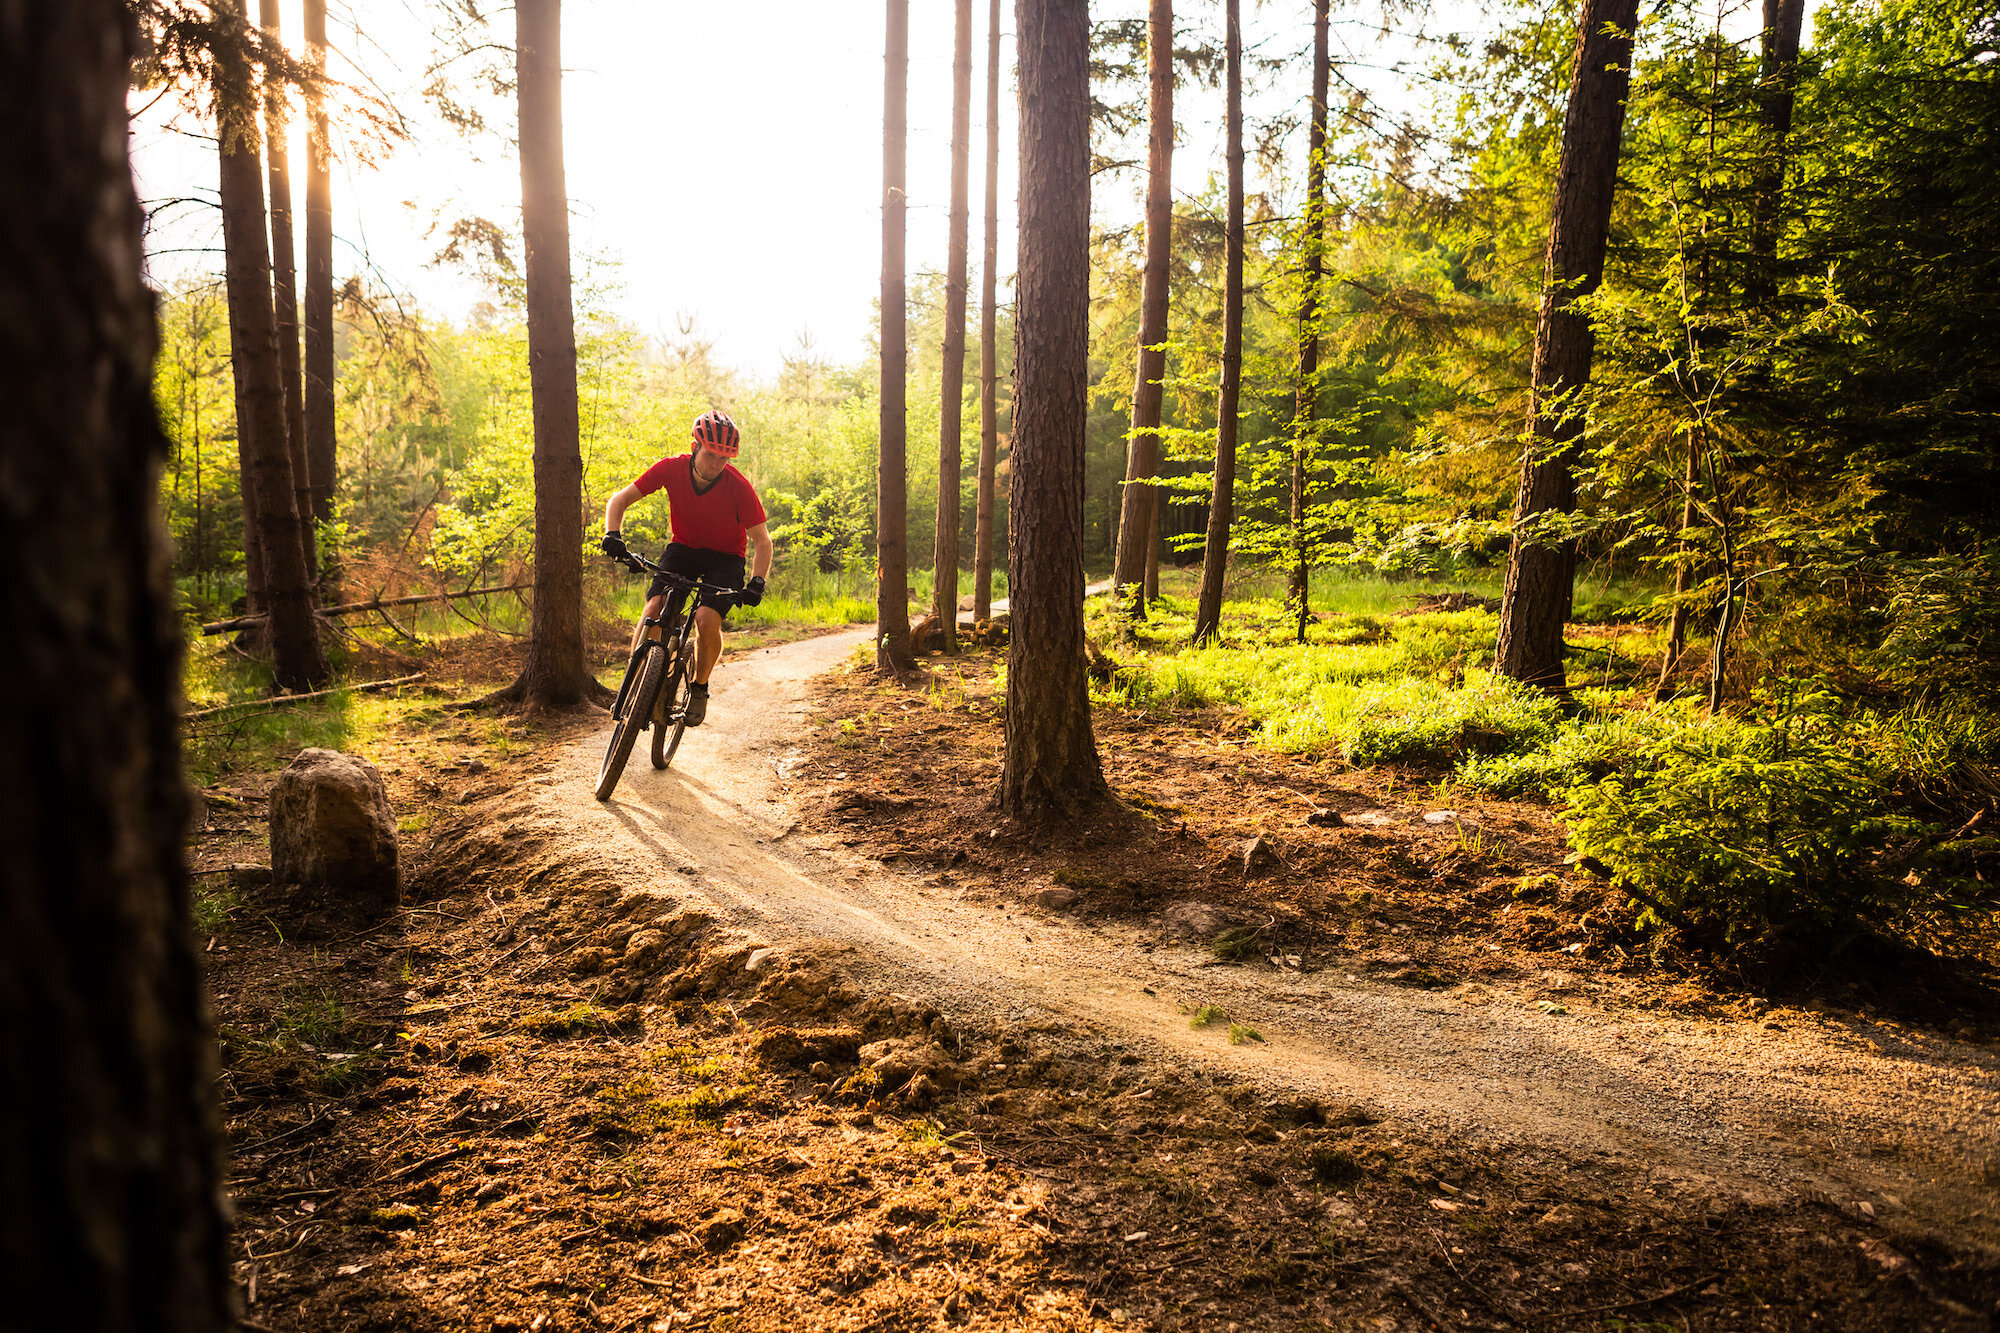
The Freeriders group is for riders looking to take their shredding skills to the highest level, but not necessarily focus on the world of racing. Coaches will work with riders to fine tune technique and improve not only speed, but also style and flow to make even the most challenging trails look easy. Riders will ride a combination of technical singletrack and flow trails and expect to cover 7-10 miles over two hours.
Freeride Skill Level & Program Goals →
What to Bring to Practice →
Bike Setup →
Preseason Bike Check →
Freeride
Ages 12-18
RIDER’S CURRENT SKILL ACHIEVEMENTS:
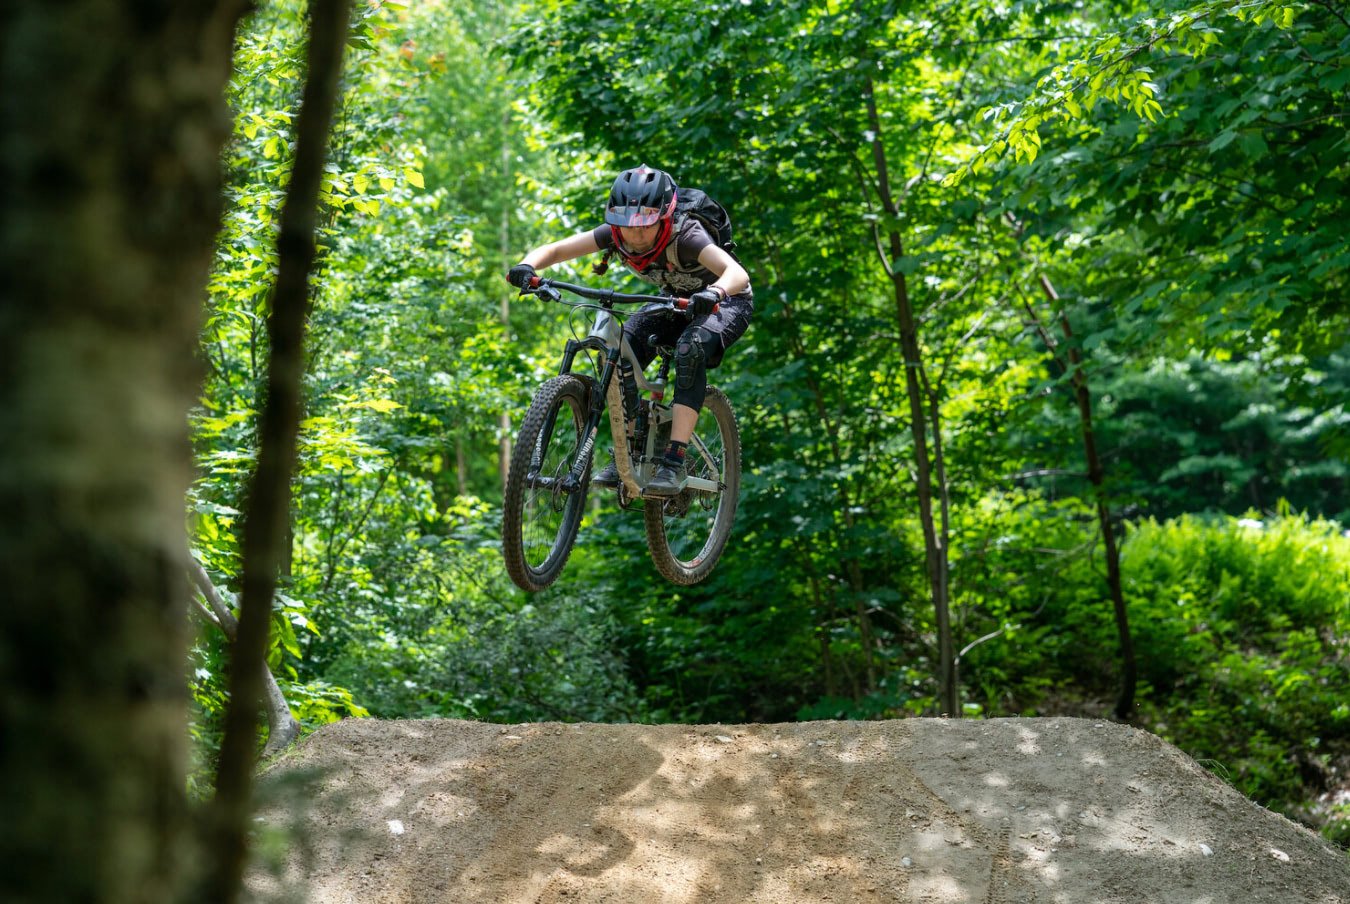
Riders in the 'Freerider' category should be comfortable riding every trail in Cady Hill from technical features like 'chainring rock' to clearing the jumps on 'Florence'.
Riders should have confident front wheel lifts, rear wheel lifts, bunnyhops, advanced brake control, advanced pressure
Riders have advanced cornering skills - flats and berms with speed
Riders experience riding lift serve gravity terrain including drops, and air awareness while taking larger jumps at higher speeds
Rider has a strong grasp of Huckster Learning Goals
Rider can participate in physical activity for at least three hours (with few breaks) and is excited to progress their riding
PROGRAM GOALS:
Review and master Hucksters learning goals
Expand on advanced skills of high speed cornering and trail craft
Explore personal riding styles and creativity on the trail
Master rear wheel lift, bunny hops, track stands and reinforce correct techniques for jumps and drops
Go bigger, while riding smooth and with ultimate style
Master a wide variety of technical terrain such as rocks, roots, rock faces, ladder bridges, and steep roll downs
Focus on line choice at race speeds
Carry and judge speed for medium jumps, table tops, and drops
Bike mechanics and trail side repair
Heavy focus on “spotting the line” in advanced terrain
The Rider’s Current Skill Achievements are intended to gauge where your rider’s experience and skills are currently at the start of the program.
If you are unsure which program is best for your rider, please request a 1-hour skills assessment or phone call with a coach. The cost of an in-person skill assessment will be applied to your rider’s tuition upon enrollment at the current 1-hour private lesson rate.
During the season a coach may suggest moving your rider to another group more aligned with your rider’s progression on the bike. The first week of each season allows coaches to meet your rider and if group changes are needed, we’ll contact parents/guardians first.
The goal of the SMBA progression program is to build your rider’s confidence, skills and instill a lifelong enjoyment for riding. Furthermore, SMBA programs work within a positive feedback loop to help coach riders to learn and apply new skills continually. The feedback loop encourages our riders to start with their strengths, links their feedback to the target skill, and gives the rider their next progressive riding goal. Using this method ensures personalized coaching for each rider within the small group environment.
WHAT TO BRING TO PRACTICE
Helmet - See Helmet Policy for fit information. We have discounted helmets for sale through our partnership with UVM Health if needed.
Bike specific shoe
Snack and Water - A water backpack like a Camelbak is a great option. SMBA has snacks on hand should your rider forget.
Bike Gloves
Spare tube and Tire Levers - make sure it’s the same size as your bike or Tubeless Repair Kit, CO2, and Plugs
Quick link for fixing a broken chain
Multi-tool with chain breaker
Healthy recovery food for after practice
Suggested: Sunglasses
BIKE Setup
Fork - When setting up your fork, use the manufacturer’s ‘rider weight’ settings as your starting point to begin adjusting your air pressures, rebound and compression settings (if necessary, depending on make/model).
Shock - When setting up your bike’s rear suspension, add air to the shock’s air can using a shock pump and, as a starting point, have the PSI match the rider’s body weight. Rebound and compression settings can be adjusted based on the PSI number (shock manufacturers often provide rebound setting guides on their websites), rider’s style of riding and terrain.
Tires - When airing up your tires, use your tire’s listed PSI recommendations as a starting point. Standard mountain bike tire PSI numbers (excluding plus size and fat tires) will range from the upper teens to upper 20’s. If riding tubeless tires, a slightly lower PSI can be used vs. a tubed tire. Lower pressures can allow for better grip in wet conditions while higher pressures can decrease rolling resistance. Remember, running PSI pressures too low can result in pinch-flats, rolling or burping a tire and high pressures can decrease traction in wet conditions and decrease your tire’s “suspension”, creating a bumpier ride.
Seat - When setting up seat height you want to ensure that when seated on your bike you have a 25-30 degree bend in the knee when your leg is fully extended on the pedal. If you feel like you are hyperextending your leg on each pedal stroke, drop the seat a bit further. The seat can also be adjusted forward and aft allowing you to slightly adjust the reach of your bike. If seated on your bike with your feet equally weighted on the pedals, try to align your knee (on your forward most foot) above the ball of the foot on the same leg.
Handlebars and Headset - Handlebars can be rotated, width adjusted or swapped out completely (for a different sweep profile) to suit a rider’s preference. Grips come in a variety of shapes, sizes and styles as well. Brakes and brake levers can be adjusted to accommodate different hand sizes and riding preferences. Additionally, the headset can be adjusted to fine tune the overall reach (stem) and handlebar height (headset spacers). If you find that your bike’s current setup isn’t the most comfortable, don’t be afraid to do some adjusting or bring it to a local shop to have it property fit.
PRE-SEASON BIKE CHECK
ABC QUICK BIKE CHECK - A GOOD PRE-SEASON CHECK, BUT ALSO SOMETHING WE TEACH RIDERS TO DO BEFORE EVERY RIDE.
Air - The tires should feel like a ripe orange. Too much air can be almost as bad as too little. Also, inspect the tires for any cuts, worn tread, or signs of excessive wear.
Brakes - Do they need a bleed, or new pads? The brakes should engage at approximately half the distance from a resting position to all the way against the bar. Make sure the cables and housing are not frayed and both levers squeeze and return smoothly.
Chain - A clean and lightly lubricated (bike specific chain lube is best) chain keeps those gears happy. Give it a good clean and run through the gears to make sure all the gears are shifting easily.
Quick Release - Check the quick release or wheel axles (where the center of the wheel attaches to the bike). They should be snug! You can also double check by trying to wiggle the wheels side to side with your hand and feeling if there is any play. If it is not easily snugged up, bring it to the local bike shop for a check.
Suspension - always good to start the season with a service and fresh seals. Has your weight and strength changed? Adjust pressure accordingly.
Tires - check the tread, pressure, and sealant.
Bolt/Bearing Check - Go through every bolt working from the front of the bike to the back, making sure they are all snug and there is no play on the bike.
Drivetrain - Are all the gears working and shifting crisply? Is a new chain needed, or cables and housing?
Pedals/Clipless Cleats - If you are riding clipless, make sure the cleats aren’t worn and the bolts are tight.